2 kids have really pulled me away from blogging lately, but I’m going to do some catch up posts over the next few weeks and dive back into blogging. Let’s take a step back into May, shall we? Most of my recent pictures are taken with my cell phone camera which desperately needs updating, but you’ll get the idea.
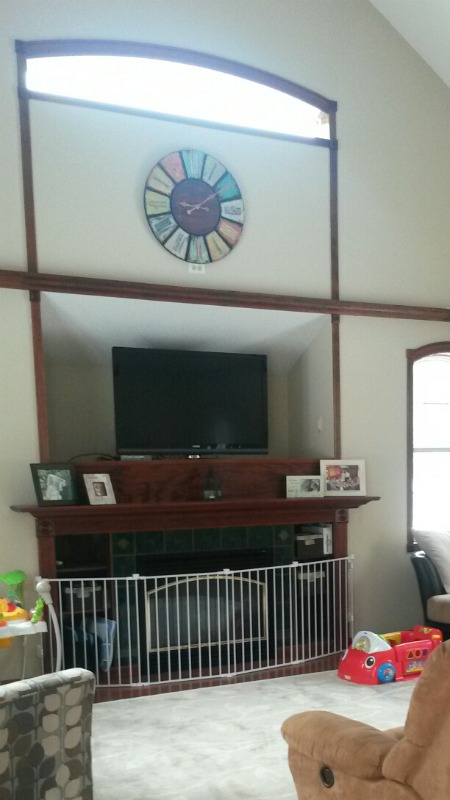
Our living room has an interesting set up for the TV. Above the fireplace is a large cubbie for a TV and DVD player, etc. Outlets, light switches, and other controls are found in the space above the fireplace. Very convenient, but very cluttered.
It is really easy for the space to look messy with extra cords, DVDs, and games. After months of thinking of every possible storage solution (bins, shelves, a wall) I finally thought of an idea. I didn’t want to lose the space but wanted a nice clean look. We are also slowly trying to give the house a more “farmhouse” look. The solution ended up being a shiplap wall with hidden doors so we can still use the space. Sounds simple right!? Of course, we decided to undertake this project 2 days before Harrison’s birthday party (you will notice his decorations in some of these pictures).
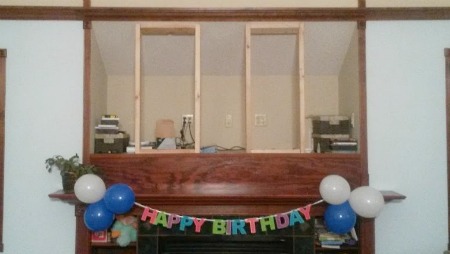
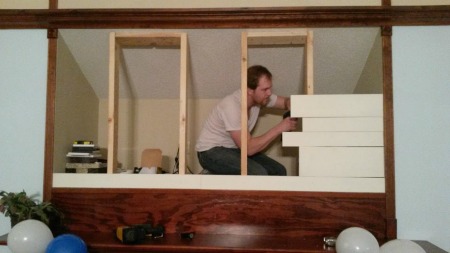
We started by framing in the opening so that we had something to attach the doors and boards to. You can see what a mess the space had become around the TV.
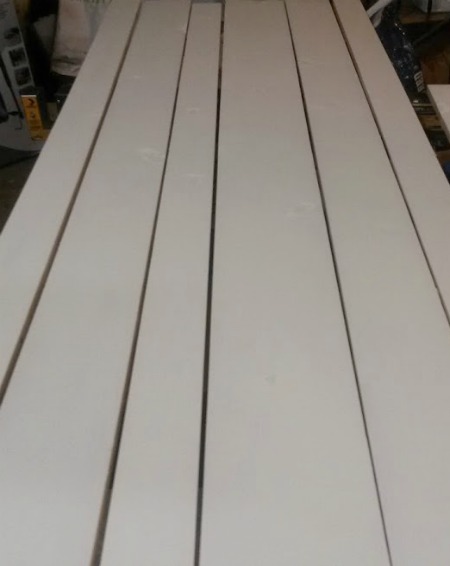
Next we laid out our various boards and painted them white. We used different sized boards including 1×4, 1x6s, and 1x8s to fit the space. Once we had the layout decided we were able to start working on the hidden doors.
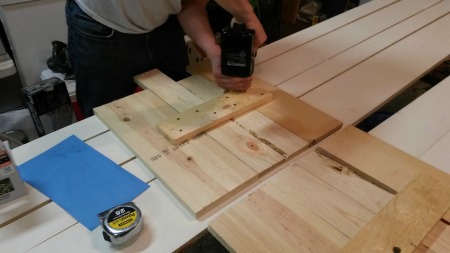
In order for the doors to be hidden they needed to be cut to different lengths. If they had a straight cut it would be obvious where they are.We made both of them symmetrical and just used a board on the back to assemble. A kreg jig could also be used for this step.
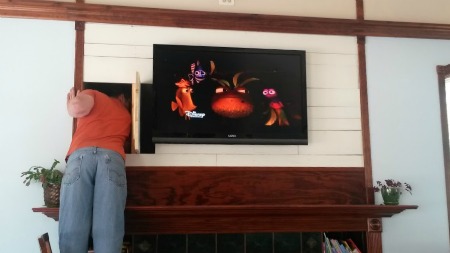
The doors pivot on a hinge outside the edges of the TV so they won’t rub or hit the TV as they open and close.The length of the doors doesn’t matter except that it will swing into the opening behind the TV and we still want to utilize that space, so it needed to be short enough. In the lower corners the doors have magnet closures, but you can see in some pictures they will also need magnets on the top corners to pull it evenly.
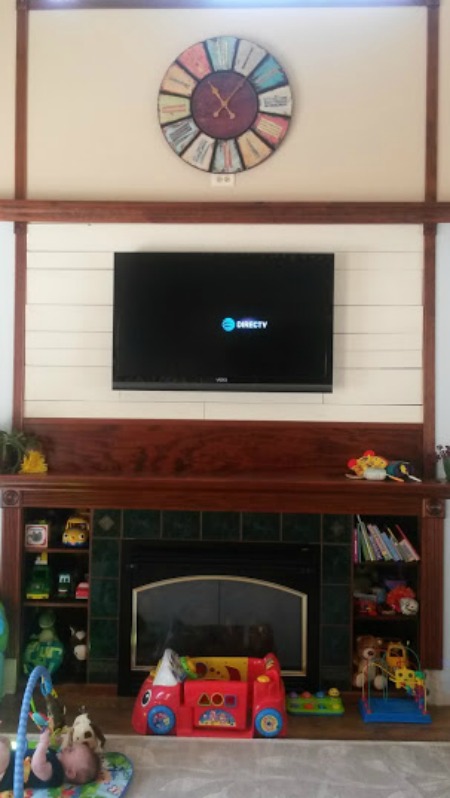
Once the doors were installed we were able to fill in the gaps with the remaining lumber. We made some random cuts to give it a look of being pieced together, which also makes the doors look more natural. Then we hung our TV with the proper mounting equipment.
We still need to find a storage solution for the toys and books, but at least the DVD storage is nicely hidden and organized. (Bonus Finding Nemo shot.) Some fabric bins should do the trick for the toys, but I’m looking for the perfect ones.
The green tile around the fireplace has got to go (I’m thinking stacked stone) and the upper half of the living room still needs paint, but this room is really starting to come together and reflect our taste. Once the doors have the second magnet closure installed the doors will be even less obvious. I’m so happy with this solution because the mantle becomes more defined and will be fun to decorate now that the space looks less cluttered.
I have some more updates to post, including Harrison’s 2nd birthday so keep an eye out! Thanks for reading!


