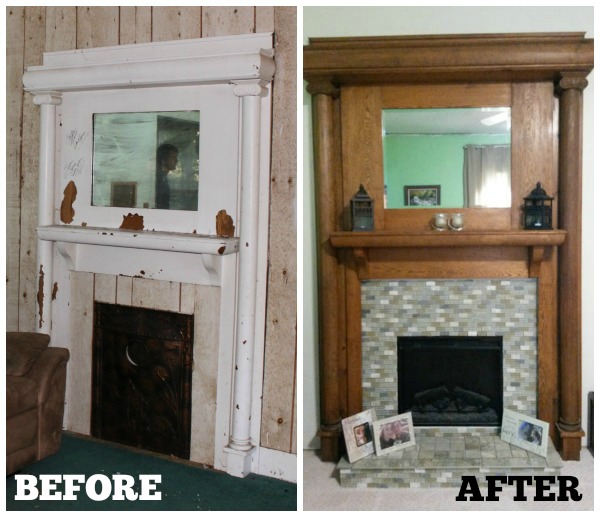
When we bought this house, our favorite thing about it was the fireplace mantel that had seen better days. We started out by giving removing the mantel and stripping the many layers of paint off.
Then we stained it to match the other furniture and wood floors in our house.
But the most notable difference is the tile and DIY hearth we added.
The fireplace didn’t have any kind of hearth or floor tile when we started, but we thought it would bring a bit of character to this beautiful fireplace. We started by building a box our of 2x4s and plywood.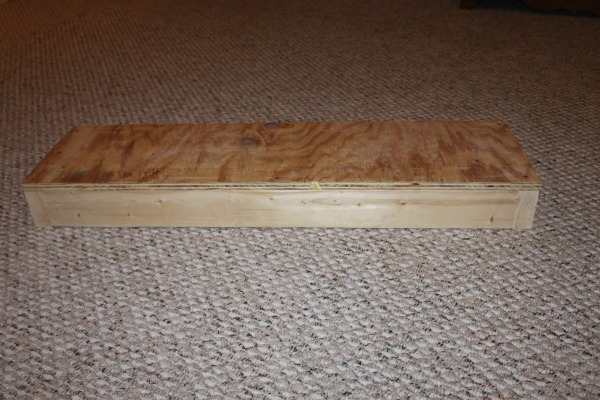
We followed the tile instructions to install larger tile on the top with a bullnose tile around the edges. 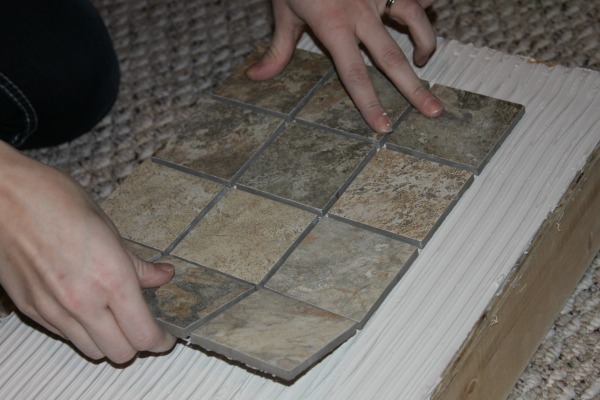
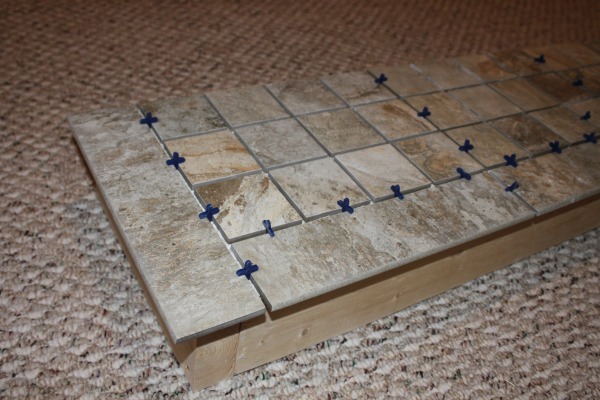
We added a smaller mosaic tile around the base that would match the rest of the tile. We have been living with this hearth installed but an unfinished mantel for over a year!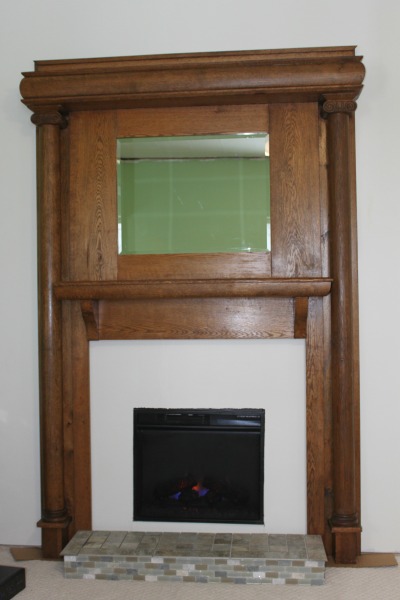
Yesterday was finally the day to add the rest of the tile around our fireplace insert.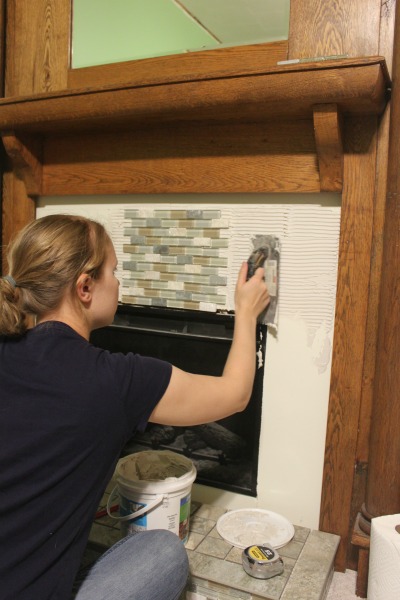
Luckily, we were able to tuck the tile behind the mantel because it doesn’t sit directly against the wall, except on the outside edges. We will be adding a bit of trim to make up the difference once we finish sealing and grouting the mosaic tile.
We did have to cut the tiles around the insert. We used a standard score and break tile cutter that we bought for around $20. You don’t need anything too fancy for this small of a job.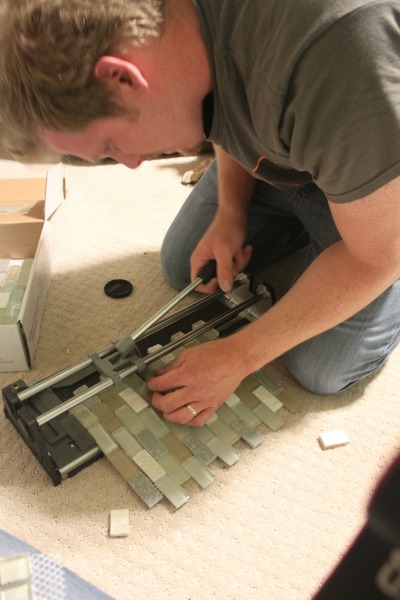
I am so incredibly happy with how this fireplace has turned out so far. We still need to grout the tiles and add some small trim, but it is so much better to look at in the meantime. 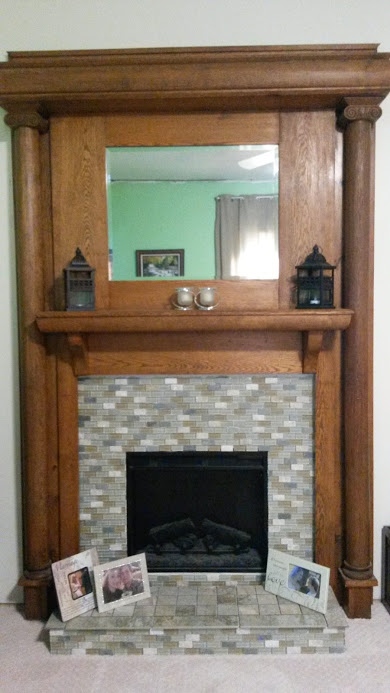
We were also able to get a bit of crown molding installed this week, so an update will come soon on that. Thanks for reading!


