We worked very hard this weekend building our chicken coop! I spent a lot of time designing this coop and wanted it to be perfect. I did a lot of research and drew up my plans for a coop that could be used as a garden shed if we/future owners didn’t have chickens.
We did a lot of work and have a bit more to do, so I am going to break this into 4 blog posts. We have not put siding or roofing on or built the run, so those posts will come later. This is how it stands today: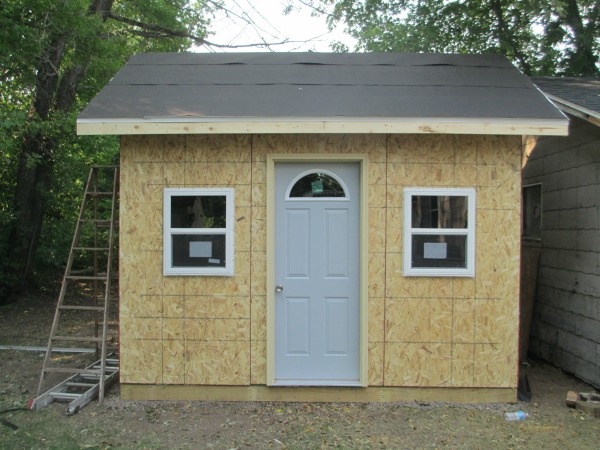
In the last post about our chicken coop, I wrote a little bit about our major considerations. With that in mind, let’s get started!
Before we could start building the structure, we had to remove a tree. 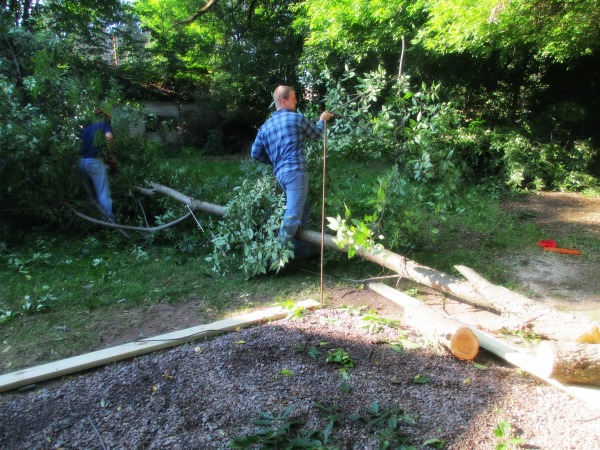
With that out of the way, we built our foundation on top of our gravel. We built it 16″ on center with treated 2x6s. 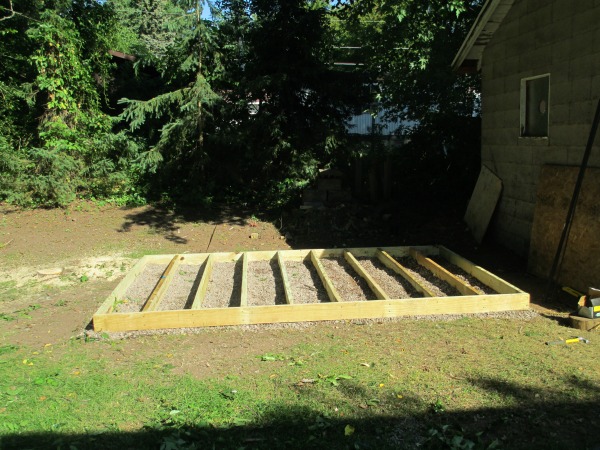
We laid down 3/4″ OSB for the sub-floor. We would have used 1/2″ but Menards was all out, and we had to take what we could get. Luckily, the price was good and the structure will be even more sturdy. 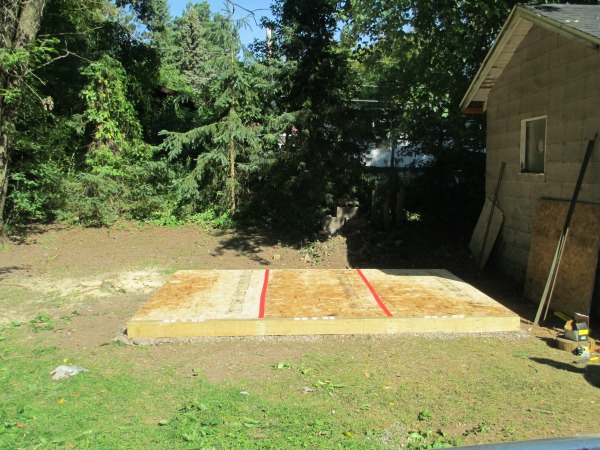
After a lot of research online, I discovered that the vinyl should be put on before the walls are put up. We got a glueless vinyl so all we had to do was lay it down! Then we were able to start building the framing.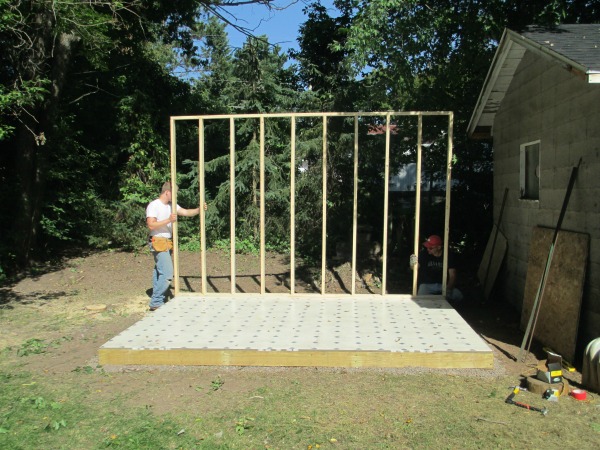
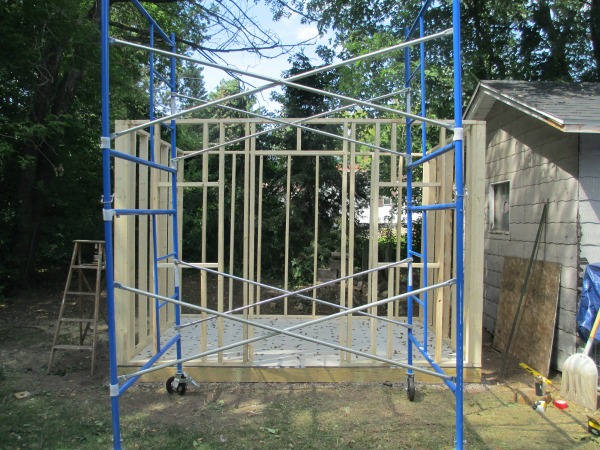
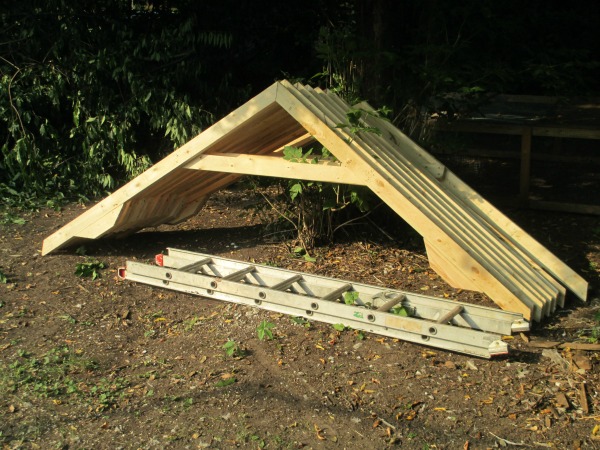
I also did a bit of research to see how to make trusses (because I had no idea where to start). I found this YouTube video that I used in my design: http://www.youtube.com/watch?v=mfs4rxBeyK0
After some intense geometry, we got 10 identical trusses.
Now that the framing is all done, we can start putting up the OSB walls. Check back for Part 2!
