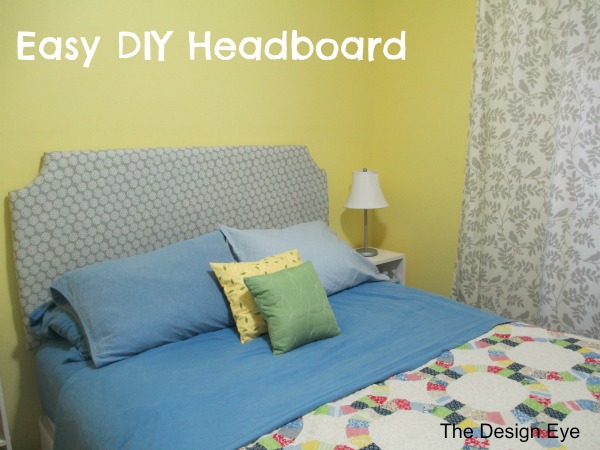
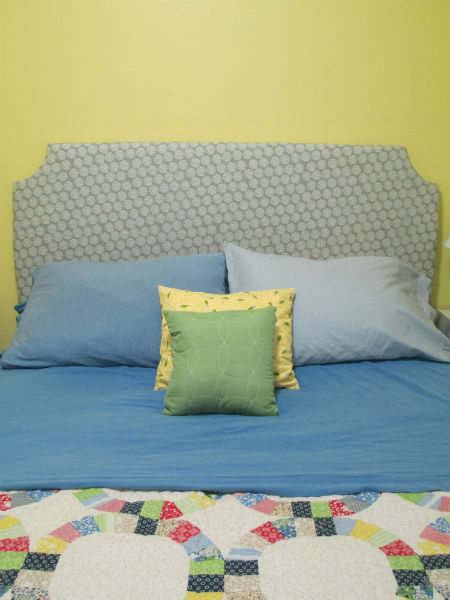
Ryan and I have been hard at work today making this super easy headboard. It takes a lot of time, but anyone can do it! We had most of the supplies we needed, so we only ended up spending about $35 (for 1″ foam and fabric).
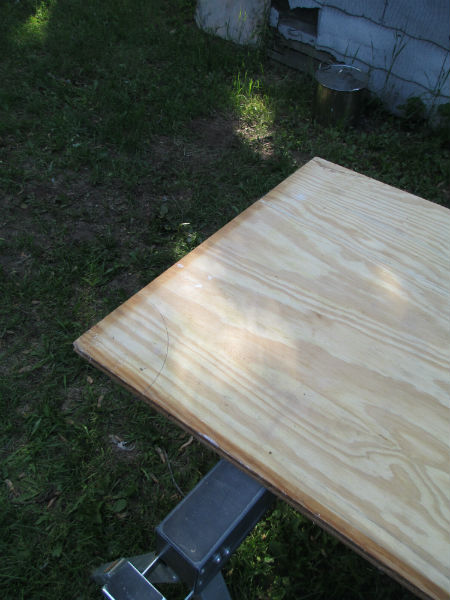
First we traced out the pattern we wanted for the overall shape. We just put the center of a 5 gallon bucket on the corner and traced that on each side. Sophisticated, I know…
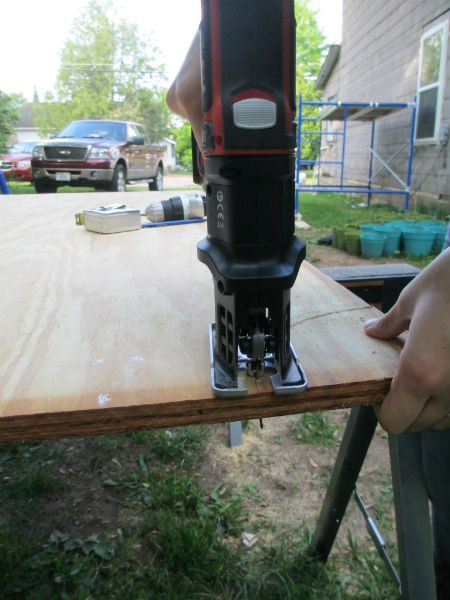
Then we just cut it out with a jigsaw. I have a jigsaw attachment for my drill, so it is cordless. I highly recommend the Black and Decker Matrix Drill for exactly that reason. You can buy all kinds of attachments at a fraction of the cost of buying separate tools.
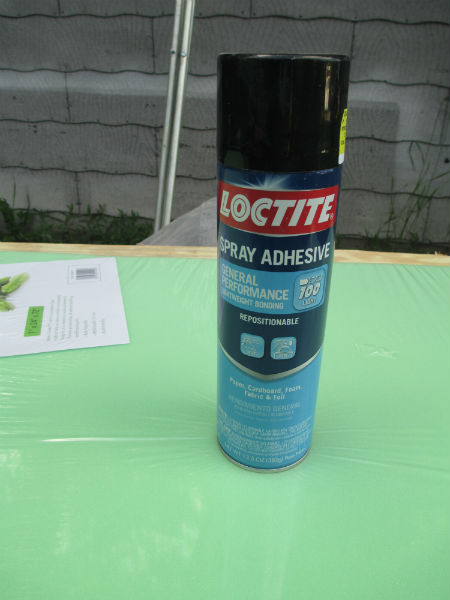
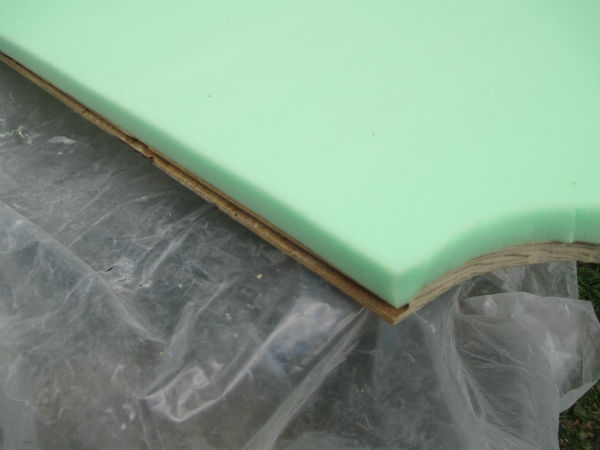
Next, we covered the plywood in a 1″ foam padding. This will be the most expensive part of the project, but is totally worth it. We used a spray adhesive to attach the foam and it worked great.
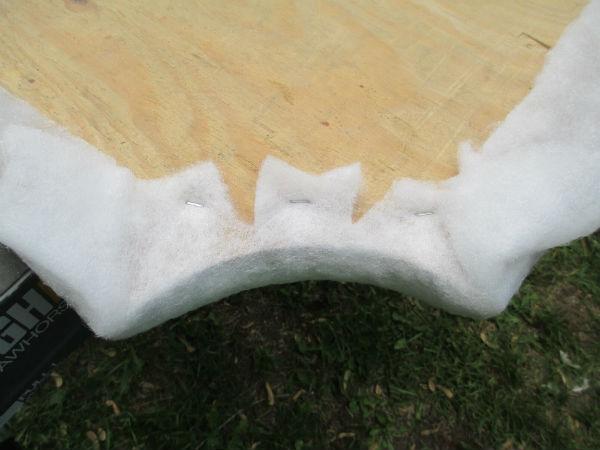
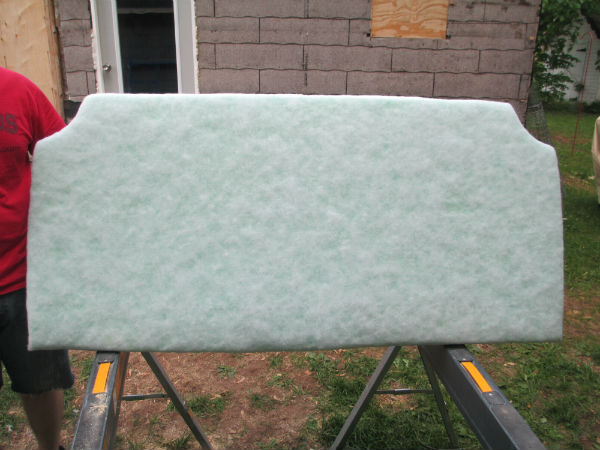
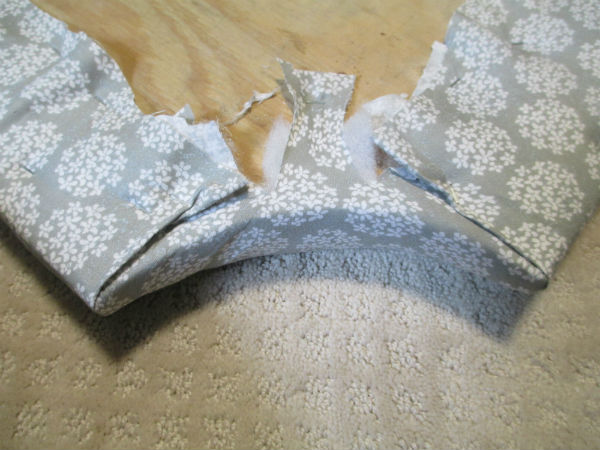
We also covered the foam in quilt batting so that the edges would be soft as well. You need to pull the batting tight over the headboard and staple on the backside. The curved corners are the hardest part, but I found that cutting strips into the batting made it easy to smooth out.
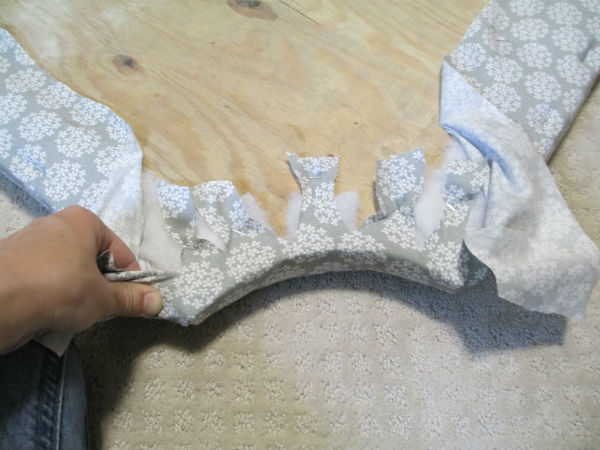
I picked a nice neutral fabric to use on the headboard so that we could us it elsewhere if we every move. The fabric is attached the same way as the batting. Pull it very tight and staple the backside. Again, it is easier if you cut small strips into the fabric to wrap around the curved corners. We used a lot of staples on the corners to get all of the wrinkles out.
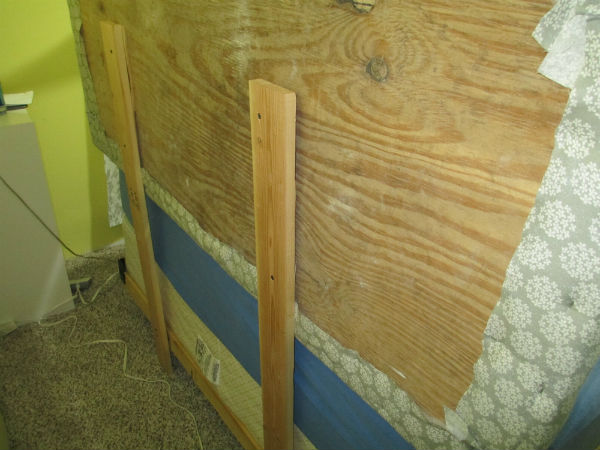
Ryan built a frame that attached to our bed frame for support.
You can also attach the headboard directly to the wall or built legs to hold it up. There are a ton of different tutorials on that (just check out Pinterest).
In the end, we are very happy with how the headboard turned out. (Now we just have to get some sheets that actually match!)
Thanks for reading!!
